|
|
|
|

Photography Equipment
Cart
|
Soon
after I bought my Canon 500mm lens, I realized that lugging this monster around
in the boonies was going to be a problem, especially if I took the other things
I normally carried - two camera bags, portable blind, camping seat, tripod
w/gimbal head, small tarpaulin (for emergency rain cover), beanbag, etc. I
began looking for some sort of cart to use. All I could come up with was a
folding
deer cart
(for hauling deer carcasses out of the woods when hunting), but they were larger
and heavier than my needs dictated, had no sides (everything had to be lashed
on), and most had slim, hard rubber wheels (not so good for sand or wet, soft
ground) that would likely bounce my expensive lens pretty hard on rough terrain.
Eventually I gave up on finding
a useful cart. Then after I recently bought a new 4x4 truck, I went to a truck accessories
shop looking for goodies for the new truck. I spotted some fishing carts in the showroom
and stopped to look them over. As soon as I touched one I knew I had found what I
needed. It felt feather light, and had plenty of room for my equipment. It also had
fat inflatable tires which seemed ideal for a soft ride, with a wide tread for sand
or soft ground.
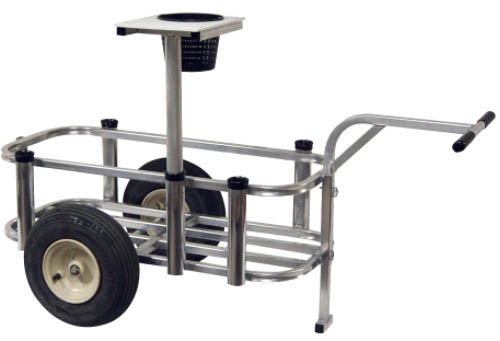
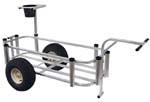
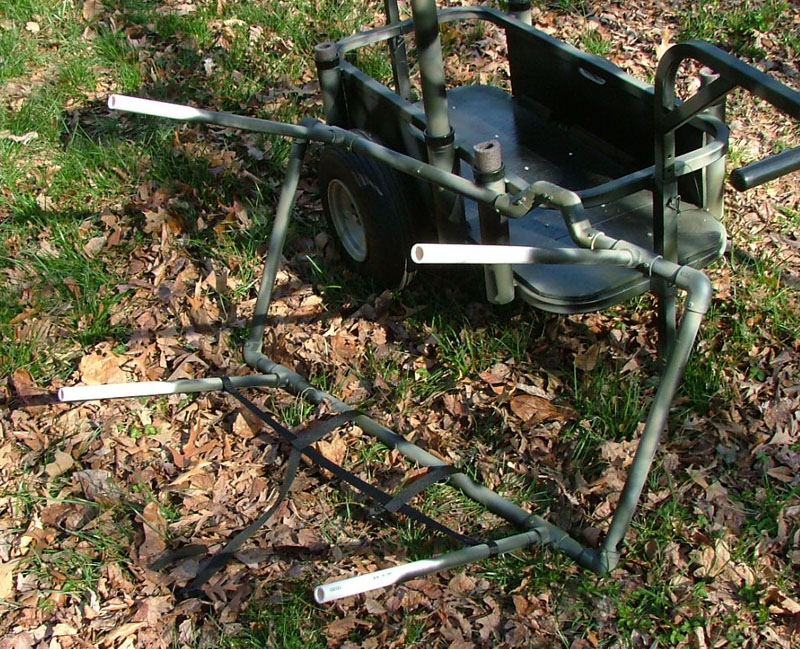
(Top left - the
cart as it came from the store.
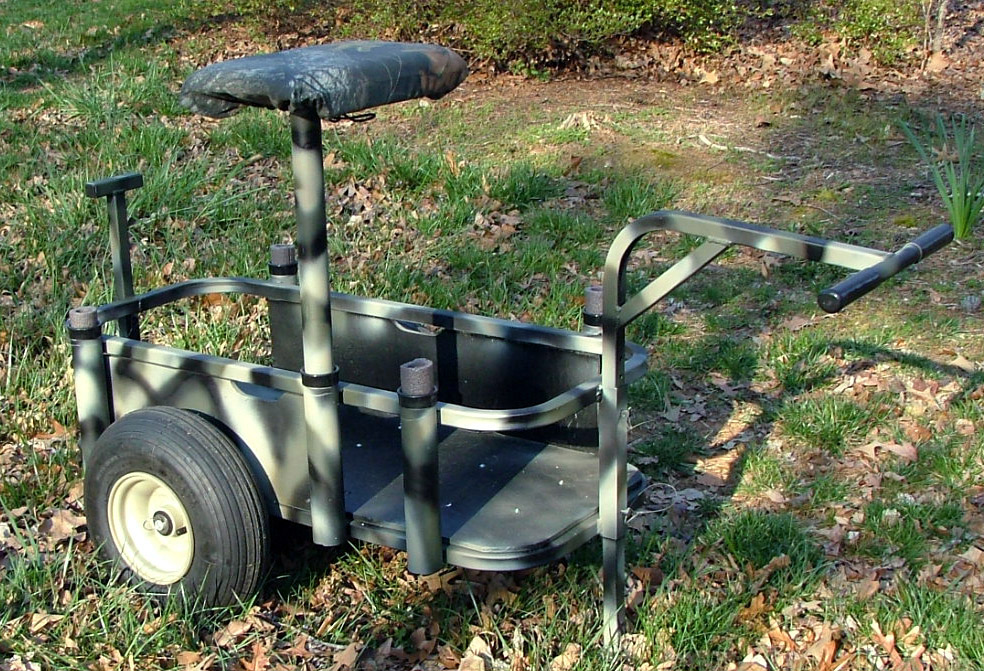
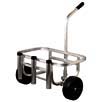
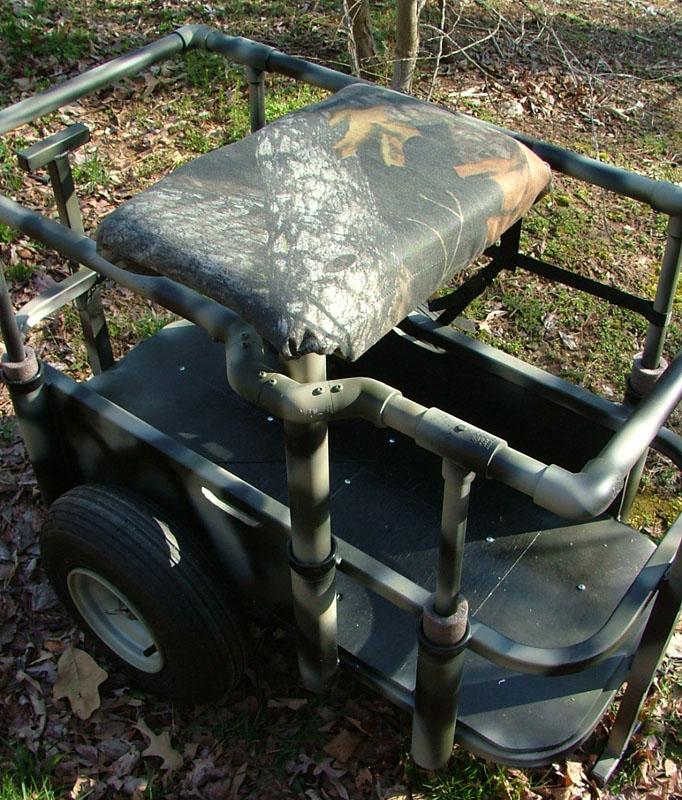
Center left- The cart after I put a 3/16
plywood bottom and side panels on it, and painted it camo.
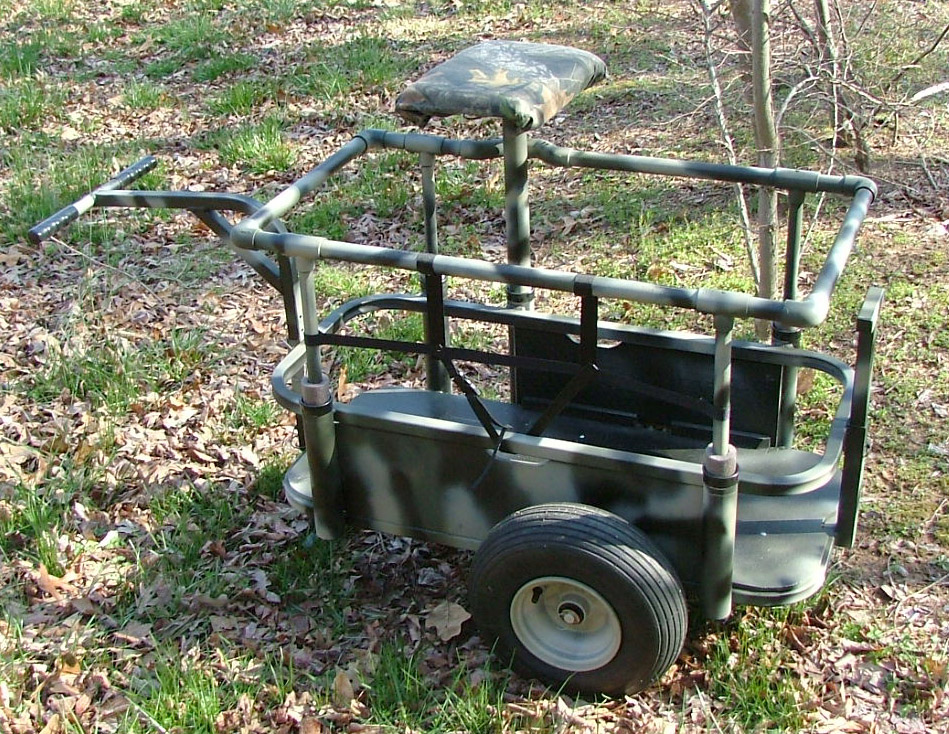
Bottom left - The cart with the upper
railing installed.)
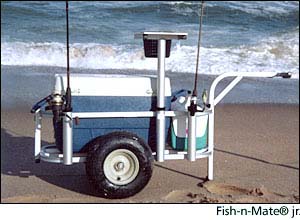
My cart is the "Angler's
Fish-n-Mate". It's designed for surf fishermen (see
photo at right). The post with the black "bucket"
is removable. It has a cutting board and the "bucket"
is really a sort of basket for cleaning fish. It's made
with all aluminum tubing and stainless steel hardware,
has a removable / reversable pull handle and an adjustable
/ removable "foot stand" on each end. Another company
makes one virtually identical to this (Reels on Wheels)
but with a caster wheel on the front instead of the foot
stand.
Unlike "Deer
carts" with hard slim tires that would
sink into soft ground, this cart has "fat" 4-inch
x 14-inch inflatable pneumatic tires. They are designed for sand, which also makes them good for soft, wet,
marshy ground.
The other brand of very similar
cart,
called
the "Reels
on Wheels™ Jr. Utility Cart", (at www.fishingcarts.com),
is approximately the same size as mine at 20x40 inches.
Both
weigh
just
17
lbs.
(though it feels like it weighs only half that), and they both handle 200 lbs. capacity.
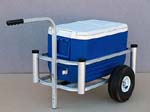
The right images show larger
and smaller versions of the carts that are available,
in the event you need more or less cargo space. Two of
these could be modified like mine with the upper railing
to hold more cargo, which I will show next.
Now
that we have the "where can I get one" stuff covered,
let's look at my modifications to make it suitable as
a photography equipment cart. First, I cut some pieces
from 3/16 plywood to make a bottom panel, and two side
panels to keep straps and soft bags from rubbing against
the tires or dragging on the ground. I primed and painted
the panels black, then used a few sheet metal screws to
attach them to the cart. This was a simple task, requiring
only a jigsaw, drill and screwdriver. You can get a good
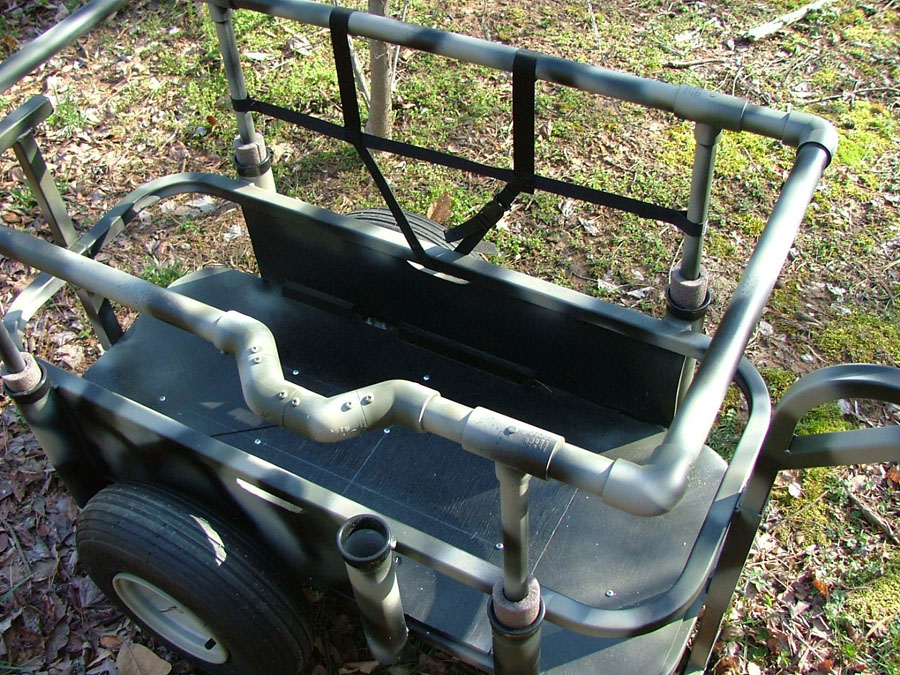
idea how this was done by viewing the top
right photo below.
Next I made an upper railing from
inexpensive PVC water pipe. Its purpose is to allow the
stacking of bags and equipment on the otherwise low cart
without them falling out or requiring bungee cords to
hold things on. This was also easy, requiring only a hack
saw (or other type of saw to cut the PVC pipe), and a
drill. The right
image shows how I used tubular foam water pipe
insulation of the right diameter to just slide snuggly
down into the four tubes of the cart designed to hold
fishing rods. Then I cut 1/2-inch PVC water pipe to desired
length, which then slips snuggly down into the tubular
insulation. That's all that was required to hold the railing
in place (no screws or other fasteners are needed).
On
top of the 1/2-inch "posts" I put 1/2-inch x 3/4-inch PVC "T" connectors
to hold the upper rail, which was made from lenghts of 3/4-inch PVC pipe, four 3/4-inch
90° elbows, and four 3/4-inch 45° elbows. You could glue the joints
together with PVC cement, but I wanted the option of easily modifying the project
later
if needed. Instead of PVC cement, I used #6x3/4-inch pan head metal screws
to hold all joints (just as I did with the frame for my duck
boat camouflage cover project).
After
assembling all the PVC pieces, I drilled small pilot holes
on both sides of each joint and ran the screws in so none
of the joints would slip apart or twist. The finished
railing is shown in the above right
middle photo, which also plainly shows on the
45° elbows just how the joints were screwed together.
All other joints were screwed only on the bottom side
(out of sight), but the 45° elbows were screwed top
and bottom to be extra sure the joints didn't twist. The
lower
right photo shows the whole assembly. It simply
slips out of the tubular insulation to make a smaller
package for storing. The 1/2-inch vertical posts were
not screwed to the "T's", so they can be slipped out of
the "T" connectors to make it even smaller to store.
Next I prepared to paint the
cart, since a flashy, shiny aluminum finish isn't the most desirable thing for wildlife
photography. I taped up the
handle bar grips, the vinyl "caps" around the top of each fishing rod holder pipe,
and taped plastic grocery bags over each tire so I could spray paint the whole thing
with camo colors. You'll probably want to use a flat finish paint. I used Krylon
acrylic flat finish camo color spray paint made for the purpose, which I already
had on hand
from my other projects.
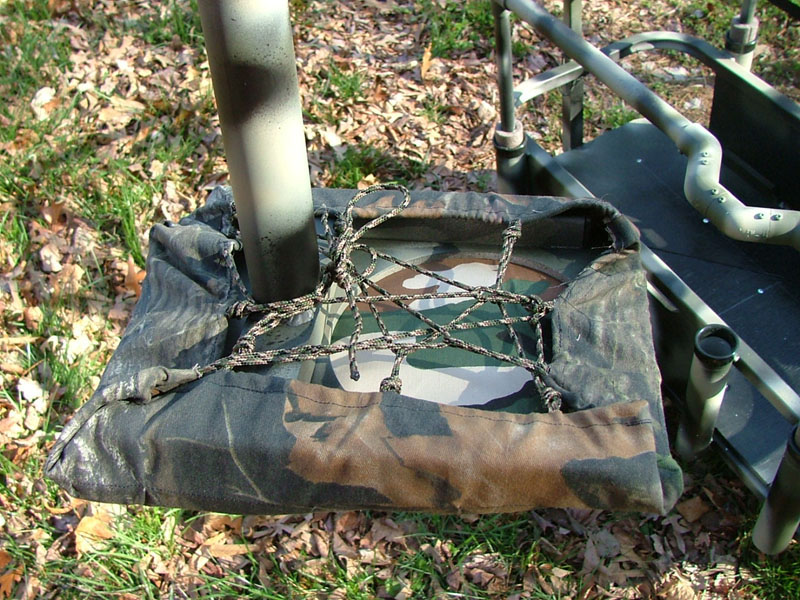
You
might be wondering about the odd "notch" made by the 45° elbows. This was
done to accomodate the vertical "fish cleaning" post which comes with the cart
(shown
at left). I wasn't going to bother with this at first, but I decided
I may as well make use of it. I thought it might make a handy platform to set
my camera on when changing lenses, or perhaps to set my beanbag on to take
quick shots without dragging out the tripod.
I slipped out the plastic "bucket" that
came with the post/cutting board. Then I covered a piece of foam padding with camo
material,
and
sewed nylon camo cord with loops into the edge seam. You can see in the photo
at right how I used the cord to lash the padded cover onto the "cutting board" atop
the post to make my padded platform. This could just as easily have been attached
with velcro or some other method. The post slips in or out of the "5th" fishing
rod holder as desired.
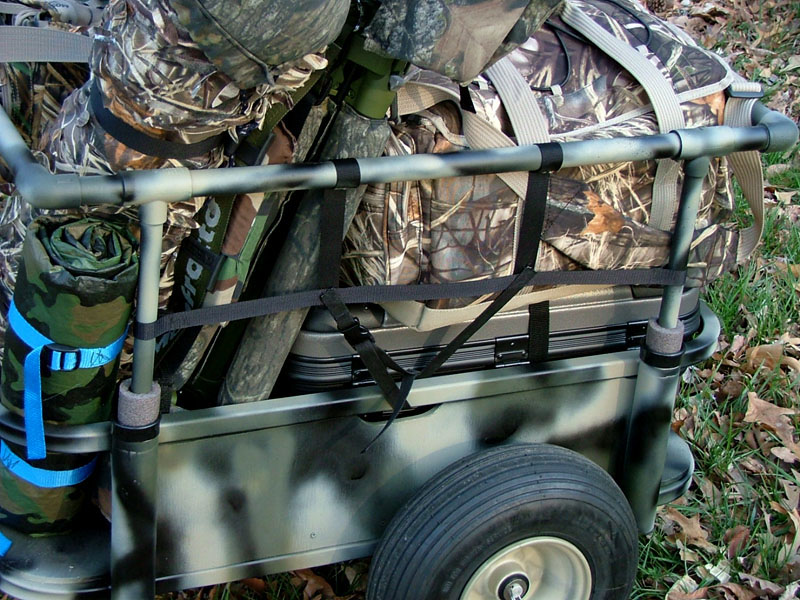
There
is one last modification to show. I made two sets of net straps from nylon
web strapping (like on your camera bag straps) to "fill the gap" between the
cart and the upper rail. This helps keep items from slipping through the large
opening on each side. I put a plastic buckle on the lower part of the web strap
to connect the bottom to the cart rail, so I could unbuckle the strap and remove
the upper rail unit easily. This is shown in the photo
at left. All of this was designed with light weight in mind. The plywood,
the pvc pipe and the web strapping add very little weight to the cart. And
everything is reversible - it can be taken off the cart so it can be returned
to use as a fishing cart if I should ever wish to - except for the camo paint,
of course.
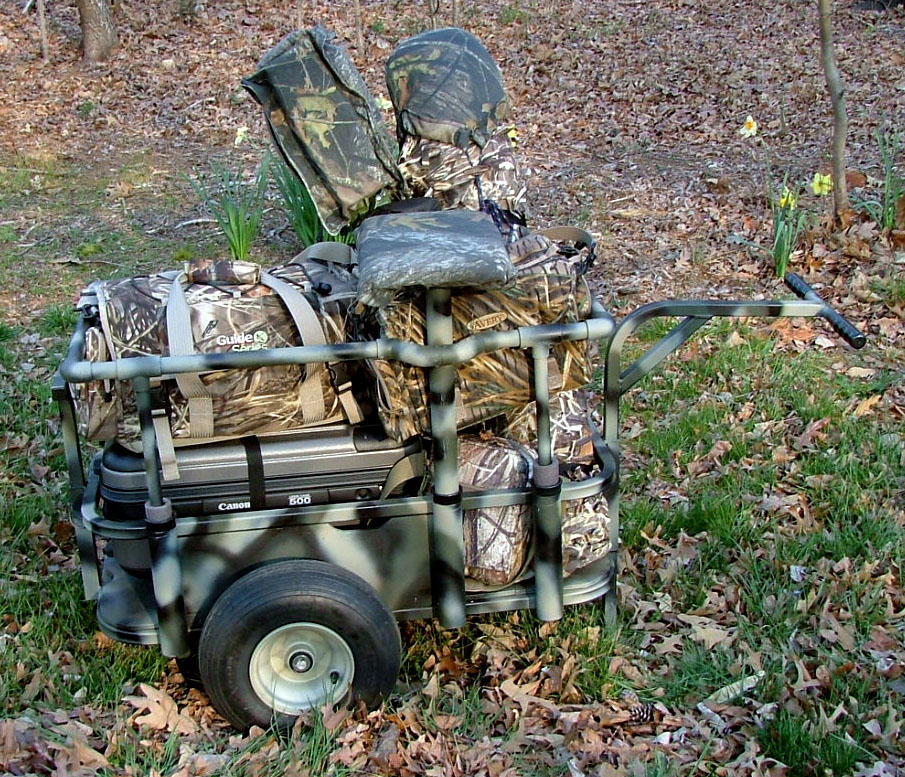
Here is the cart all packed
to the gills (pardon the
pun) with my equipment. Keep in mind that I was backpacking all this stuff, some
60 lbs. worth. I wasn't actually taking the 500mm lens case though. I was packing
the lens inside a backpack. I carried the portable blind, tarpaulin and the rest by shoulder straps and hand straps. I now have the option of using the original 500mm case if I wish.
If you are familiar with
the Canon 500mm lens and it's case at the bottom of this pile, then you can see
how the
size
of
the
cart
compares
to the lens case in the enlarged
photo. You may note there is no black web strap on this side of the cart.
I ran out of buckles, so the 2nd strap was not quite finished as of this writing,
but it will be added when I get a buckle to sew on it. One more note: I let some
air out of the tires for an even softer ride. The only problem is that I can't
actually tell how much air is in the tires now. My air guage only goes down to
5 lbs. and it doesn't move when I check the pressure. I have to assume the tires
have less than 5 lbs. in them and the tires still do not look too soft, even with
this load on the cart.
I hope this information is useful. The cart can
probably be purchased from sources other than the two I listed above. This type of cart can likely be found at marinas and fishing supplies, particularly those near
the ocean where you find surf fishermen.
|
| |
|
|
 |
|
 |